深度学习识别银行卡(一)————CTPN的配置
CTPN简单了解
CTPN:Connectionist Text Proposal Network 即 场景文本检测 在文本识别中,CTPN有效利用了同一行文本不同字符之间的上下文,这是与一般物体检测不同的地方,同时作者认为预测文本的竖直位置比预测水平位置更为容易。
- CTPN使用了VGG-16前5个卷积层,得到feature map(WHC)
- 取33C的窗口的特征,用于预测该位置k个anchor
- 将每一行的所有33C的特征输入到RNN(BLSTM)中,得到W*256的输出
- 将RNN的W*256输入到512维的fc层
- fc层特征输入到三个分类或者回归层中,使用三个输出参数分别表示垂直位置,类别(是否为字符区域),水平位置
- 将分类得到的proposal合并,经过处理之后可得到连续的矩形区域

配置CTPN
使用Ubuntu:
可以直接使用代码中的shell脚本对nms和bbox编译
cd utils/bbox
chmod +x make.sh
./make.sh
使用win10:
- 将 lib\utils\cython_nms.pyx 中第25行的 “np.int_t” 修改为 “np.intp_t”
- 将 gpu_nms.cpp中第2150行修改为
_nms((&(*__Pyx_BufPtrStrided1d(int *, __pyx_pybuffernd_keep.rcbuffer->pybuffer.buf, __pyx_t_10, __pyx_pybuffernd_keep.diminfo[0].strides))), (&__pyx_v_num_out), (&(*__Pyx_BufPtrStrided2d(__pyx_t_5numpy_float32_t *, __pyx_pybuffernd_sorted_dets.rcbuffer->pybuffer.buf, __pyx_t_12, __pyx_pybuffernd_sorted_dets.diminfo[0].strides, __pyx_t_13, __pyx_pybuffernd_sorted_dets.diminfo[1].strides))), __pyx_v_boxes_num, __pyx_v_boxes_dim, __pyx_t_14, __pyx_v_device_id); - 编译C文件,在cmd中执行
cd your_dir\text-detection-ctpn-master\lib\utils cython bbox.pyx cython cython_nms.pyx cython gpu_nms.pyx - 新建setup_new.py文件
import numpy as np from distutils.core import setup from Cython.Build import cythonize from distutils.extension import Extension numpy_include = np.get_include() setup(ext_modules=cythonize("bbox.pyx"),include_dirs=[numpy_include]) setup(ext_modules=cythonize("cython_nms.pyx"),include_dirs=[numpy_include]) - 编译.pyd文件 (Python编译版本必须与运行时版本一致)
python setup_new.py install - 将”bbox.cpxx-win_xxxx.pyd” and “cython_nms.cpxx-win_xxxx.pyd” 复制到 “\text-detection-ctpn-master\lib\utils”
- 修改setup.py文件,将 cuda_libs 和 include_dirs 修改为你的路径值
- setup.py下载链接(https://msxfxf.github.io/assets/files/setup.py)
- 编译gpu_nms.pyd 打开VS2015 x64 本机工具命令提示符,如果没有,可以百度搜索安装一下
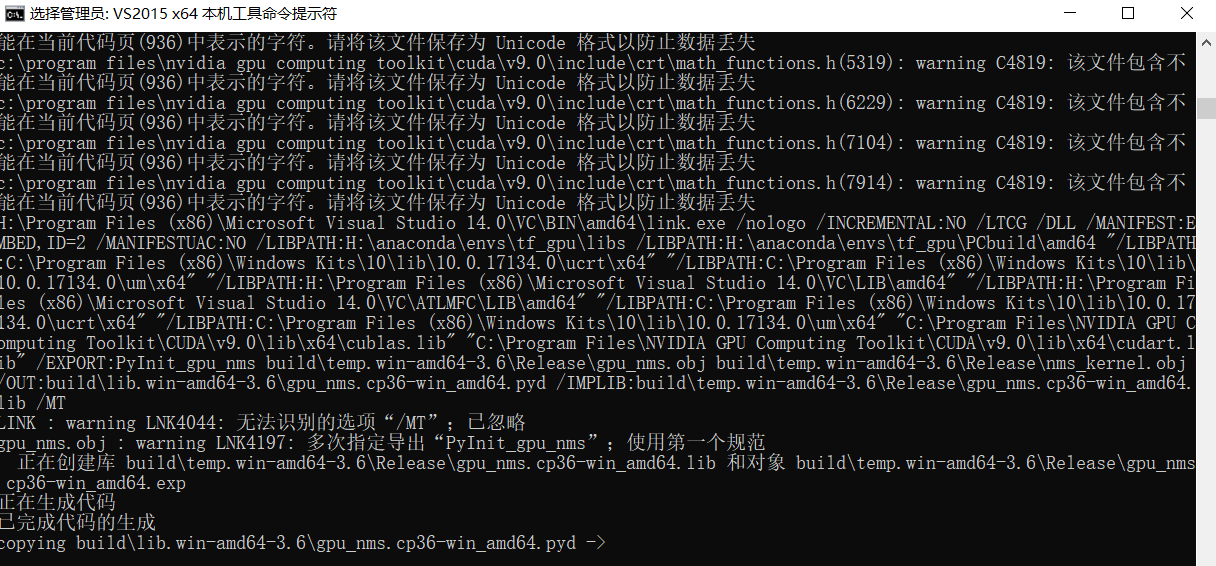
cd your_dir\text-detection-ctpn-master\lib\utils python setup.py build_ext --inplace - 下图即为编译成功
-
- 修改”ctpn\demo.py”,将第24行的 “base_name = image_name.split(‘/’)[-1]” 修改为 “base_name = image_name.split(‘\’)[-1]”
- 运行demo.py
cd text-detection-ctpn-master python ./ctpn/demo.py - CTPN Github
- Win10 安装参考网址
- CTPN - 自然场景文本检测